Update 06-13-17: Check out our refreshed Ret article on how to “Step Up Your Retinoscopy Skills”
This is a ‘How-To’ article for retinoscopy and it is especially useful for first-year optometry students. For pre-optometry students or optometry who are unfamiliar with the technique please check out the link to the simulator at the bottom of the page.
 Retinoscopy is a method utilized to get an idea of a patient’s prescription objectively, without needing any responses from the patient. In simple terms, the observer shines a light into the patient’s eyes and observes the direction of the light reflex. There are three different motions that can be observed: with or against the direction of the retinoscope motion, or neutral. This is a much more difficult technique to explain in words; however the basics can certainly be grasped. With motion occurs when the reflex of the streak moves with the light of the retinoscope, and against signifies the reflex moves in the direction opposite the motion of the retinoscope. The ultimate objective is to obtain a neutral reflex. A neutral reflex is characterized as a bright, stationary reflex that engulfs the patient’s eye.
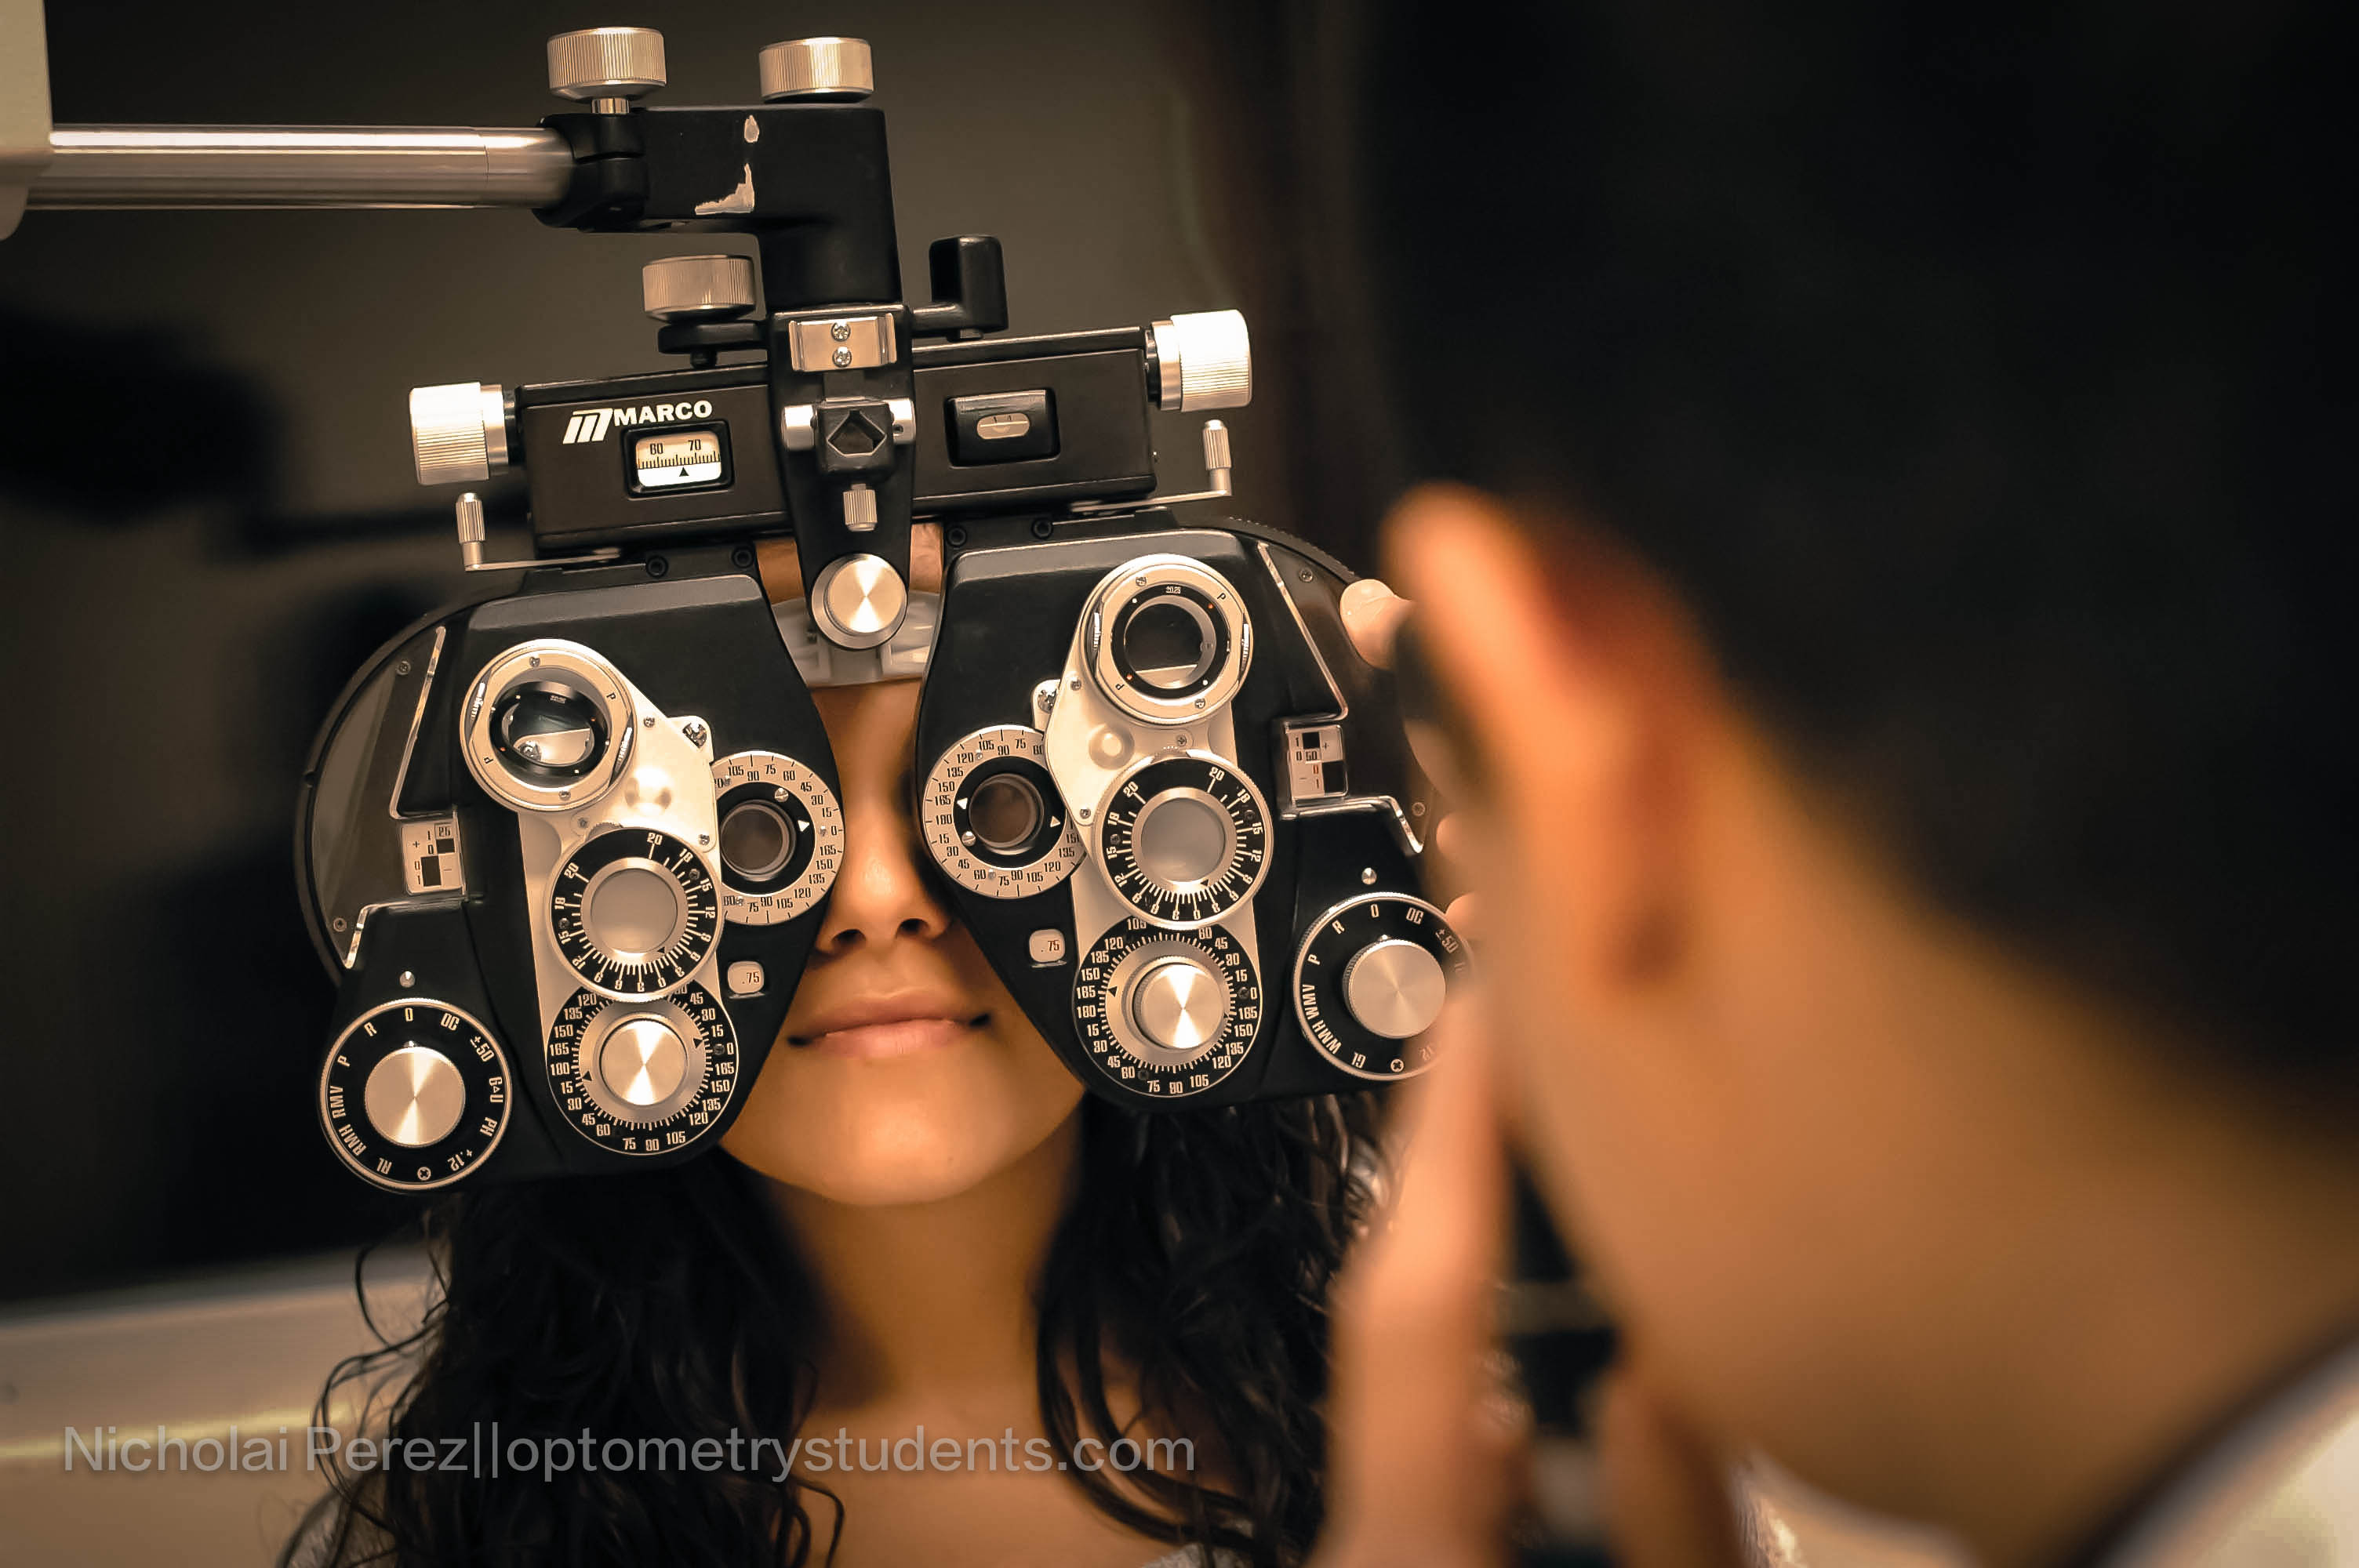
The assessment required us to perform retinoscopy on both the left and right eyes of a fellow classmate within 20 minutes. In addition, random lenses are taped behind the phoropter to introduce new variations in sphere, cylinder, and axis in addition to the existing refractive error the patient may already have.
This by far will be one of the most difficult assessments in first year. It is absolutely imperative that you invest hours upon hours in practicing this technique. Not only does your grade depend on it, but you will need to be able to perform retinoscopy in about eight minutes by the end of the semester in order to complete the final assessment that builds upon retinoscopy. However we will cross that bridge when we get there. In short, practice is going to be the key to a good score. Do not expect an hour of practice to be enough. Quite frankly, ten hours of practice is not enough. Just be prepared to invest much of your time in the methods lab in the few weeks leading up to the assessment.
To prepare for the assessment you want to establish a practice routine. With exams, quizzes, course material, and other assessments to combat with, you effectively have to manage your time quite wisely.
So here is a list of steps you can take to manage your time and develop an efficient practice routine.
- Rather than eating lunch for an hour, I along with several classmates would skip our lunch break and practice retinoscopy during that time. An extra hour a day can make a big difference.
- Come to school an extra hour early and use that time to practice. Yes it can be painful waking up even earlier in the mornings, but you will be rewarded when assessment time comes.
- Practice under realistic conditions. Time yourself. Tape sphero-cyls behind the phoropter and try to neutralize the most difficult combination you can.
- Practice everyday. Yes, that means Saturday and Sunday. In fact, there is no way around practicing on weekends, so the sooner you accept that, the sooner you will enjoy doing so.
- There are an abundance of methods available to perform retinoscopy successfully. The key is to choose a method and stick to it. It’s all about choosing the method you are most comfortable with.
 My method.
Scope vertically.
Note the motion of the reflex.
Scope horizontally.
Note the motion of the reflex.
I neutralize the meridian that leaves me with an against motion in the other meridian. In other words, I want to be left with an against motion in the meridian I neutralize last. If both meridians happen to be displaying a with motion, then just choose a meridian, it does not matter which and I’ll tell you how I handle that shortly.
Assuming the horizontal meridian presents a with motion and the vertical an against motion, I will neutralize the horizontal meridian, ignoring any oblique axes movements. Oblique meaning the reflex of light is not oriented at 90 degrees. After I have neutralized the horizontal meridian, I then want to neutralize the vertical. With my streak horizontal, I neutralize the meridian paying close attention to the reflex axis. I align my streak with the reflex (and make the axis on the phoropter its equivalent) and then neutralize the meridian using negative cylinder, adding more minus for against motion. After I have neutralized the vertical meridian, I move my streak 90 degrees away and re-check the horizontal meridian making any adjustments.
A quick note: To neutralize the vertical meridian, the retinoscope streak should be oriented at 180 degrees. Likewise, to neutralize the horizontal meridian, the streak should be oriented at 90 degrees. This may seem confusing to you now, but it will all make perfect sense when you begin learning about retinoscopy. What I hope to achieve from writing this article, is just to give the reader an idea or a simple understanding of the basics of retinoscopy.
For a situation in which you have initial with motion in both directions, no problem. You need to just choose a meridian and neutralize it. It does not matter which meridian you choose. So for example, if you decide to neutralize the vertical meridian, and then switch to neutralize the horizontal and you see with motion, that is no problem at all. Just continue to neutralize the with motion seen in the horizontal meridian and after you have neutralized this meridian, go back to the vertical meridian and you certainly will be left with against motion, and you can now neutralize this meridian with your negative cylinders.
Complete this procedure for both eyes, and then record the RX.
In retinoscopy, you always record the RX and not what is displayed in the phoropter. The RX is just your neutralizing sphere minus your working distance plus your cylinder and axis.
So if in the phoropter you have:
-3.00 / -1.25 x 160 and you are working at (50cms or 2D), your final RX will be:
-5.00 / -1.25 x 160
Right now this may seem very confusing, especially if you are not familiar with spheres, cylinders, etc. However, this article, like I previously mentioned, is just to give you a basic familiarity of retinoscopy and more so give you an idea of how assessments are in first year.
In the future, I will write a more comprehensive guide to retinoscopy reviewing all the ins and outs, but for now, I hope you enjoyed this basic introduction.
Until next time,
Antonio Chirumbolo
P.s- Here is the link to the retinoscopy simulator. It provides a really helpful understanding of retinoscopy and it allows you to choose the refractive error of the patient and then allows you to introduce lenses and ret them until you have achieved a neutral reflex. If you want to get familiar with how to do ret, check this simulator out!!